
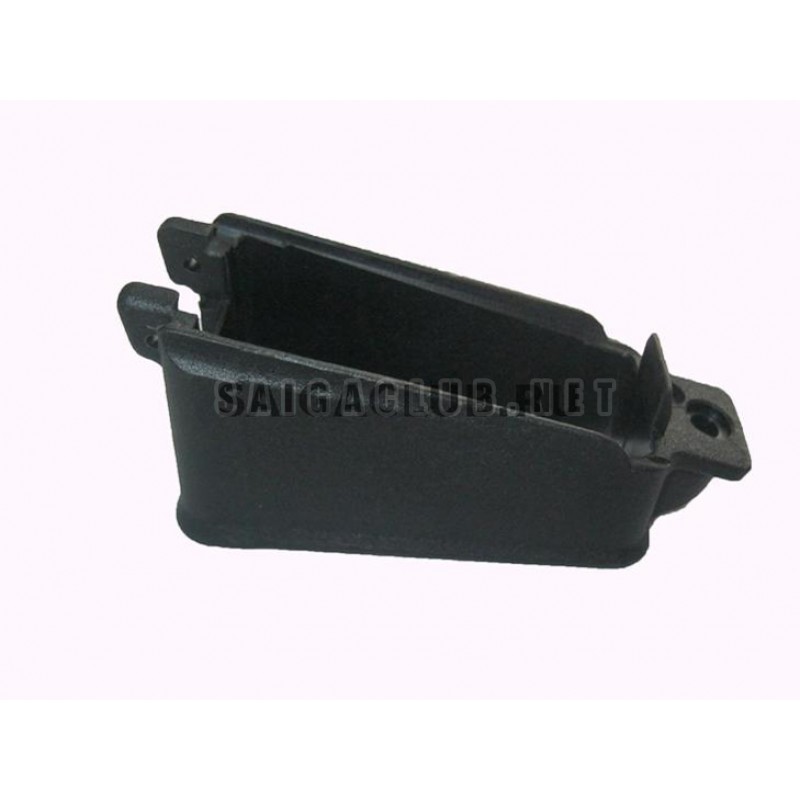
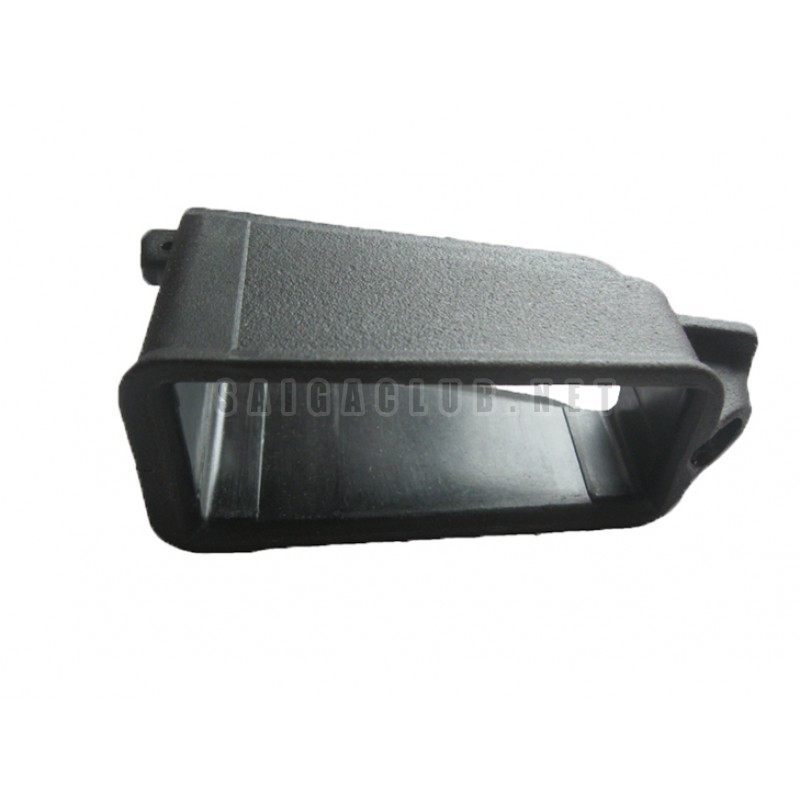
$37
Magazine adapter (also called magazine well) intended to make connection of the magazine with gun easier. Quite often Saiga 12 variant are offered with adapter already installed. But owner could like to change it in some occasions:
-Willing to change plastic part to rigid metal one;
-Failure, damage (often due to careless handling);
-If adapter don’t have anodized coating it will be scratches and notches during use.
Many versions of Saiga 12 are not equipped with magazine adapter and owner could wish to install in by himself.
See step-by-step manual for Saiga 12 magazine adapter change:
Step 1. Connect adapter with magazine and put it in place to see how it looks.
Step 2. If your carbine already equipped with adapter – perform the next steps:
Step 3. 1. Take a look on Saiga 12 receiver drawing showing dimensions required for adapter installation.
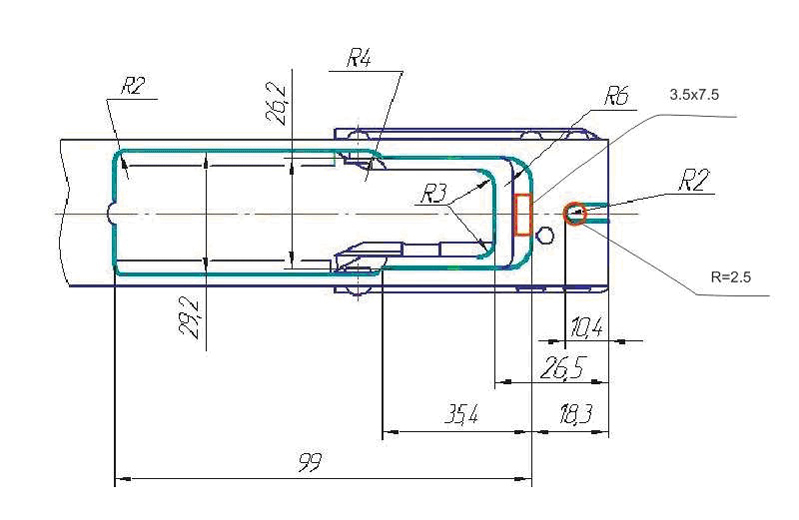
Step 3. 2. Note the picture of receiver. There are 3 cut-outs at the left edge. Same shall be made on the upgraded part. It will eliminate issues during adapter installation.

Step 3.3. Perform field strip up to the stage when Saiga 12 adapter can be easily installed. Remove next parts:
fore end;
retainer plate;
stock latch;
magazine latch;
pin.
If you are planning to modify receiver you may want to disassemble fully to save time for cleaning the metal chips. Do not forget to wipe, dry and grease parts.
Step 4. Examine new adapter, receiver (if it was modified), check that magazine is mate the adapter. If there are notches, dents or interferences – clean it with file.
Step 5. Clean adapter with solvent before to connect magazine. Check latch shape. Is it not smooth – correct the shape by file and clean it with solvent.
Step 6. Install magazine latch, then stock latch.
Step 7. Put screw in the slot (provided by manufacturer or made according the drawing).
Step 8. Install the adapter. Put it into the magazine latch slot and secure with screw. Pin shall run through hole at adapter.
Step 9. Replace old pin with the new one. Just push old one from the hole with the new one and a hummer.
Step 10. Take the nut (from the kit) and put it on the adapter screw. We are recommending using Loctite to prevent loosing during use.
Step 11. Load the magazine and connect it to the gun.
You can follow this manual to change magazine adapter as on Saiga 12 carbine, as on Saiga 12C and Saiga 12K variants.
Magazine adapter (also called magazine well) usually already installed on 12 gauge Saiga Tactical and 030 versions. If required this adapter can be installed on standard Saiga 12 to be able to use other type of magazine.